How to Add and Activate eSIM Line on iPhone XS, XS Max, and XR

In 2018, Apple made an unprecedented move by making the new iPhone devices support dual SIM. However, not even one of the three iPhones (XR, XS, and XS Max) launched could really use eSIM on the iOS 12 platform, only the nano-SIM card slot can be used.
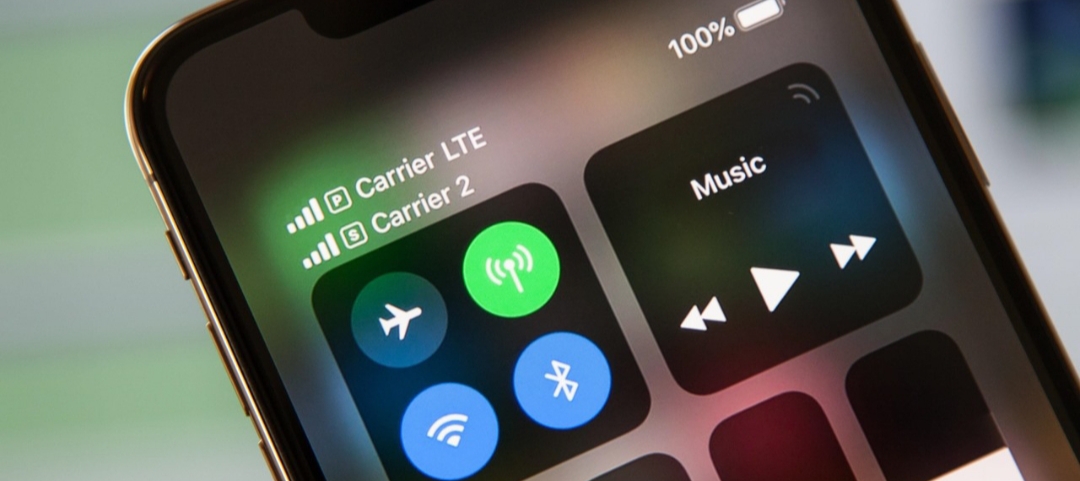
Thanks to the iOS 12.1, users can now use and activate eSIM line on iPhone XS, XS Max and XR devices. With this, you can simultaneously have two different mobile plans, and possibly lines, on your iPhone XR, XS, and XS Max.
Requirements to Activate eSIM line on iPhone XS, XS Max, & XR
The eSIM is a new innovation in the tech space. It is just starting to gain traction and popularity among users and manufacturers alike. That said, setting it up will no doubt require some time and a little stress.
The first thing you need to set up and activate eSIM line on iPhone XS, XS Max, or XR Max is to of course purchase one with a dual SIM support. Thereafter, you have to install iOS 12.1 which is packaged with dual SIM support for the XR, XS, and XS Max.
In order for you to use two different service providers and two different plans all at a time, your iPhone XR, XS, or XS Max needs to be unlocked. Otherwise, you will have to use the same provider.
One other thing that is worthy of mention is the fact that using a CDMA provider as your primary line implies that your secondary line will not be a CDMA account. This information has already been provided by Apple. The meaning of this is that you will have to use a GSM plan as your secondary line with your iPhone unlocked.
Multiple Plans are Supported on the eSIM
You should be dearly reminded that the newer iPhone models and the eSIM support multiple plans. However, only one of the plans can be actively used at any given time. This implies that other plans will not be active when one is already in focus. To use other plans, you will have to make the manual switch from the present plan to another using your iPhone XR, XS, or XS Max.
Additionally, users should know that while the iPhones support two cellular plans simultaneously, only one can be active when making or receiving a call. The meaning of this is that if you get another call from another line when making a call from a certain line, the incoming call wouldn’t break through. Rather, it will go to the voicemail.
Step 1: Activating Another eSIM Line
It is quite likely that the primary cellular plan on your iPhone XR, XS, or XS Max is the nano-SIM. In this manner, if you want to add a secondary account for work or travel, you will have to scan a QR code from your service provider using the provider’s app or doing it manually.
It is advisable to contact your service provider to integrate your nano-SIM line into the eSIM so everything becomes seamless when travelling or going to work.
Nonetheless, if you are more interested in having an entirely different line, you can choose to activate another line using the eSIM.
Option 1: Scan a QR Code from Your Service Provider
QR code can help you set up a plan very easily. So, if you want a secondary plan from your present provider or a new one, contact them for their QR code via email or whatever medium.
Once you have received the QR code, go to Settings, tap Cellular, then “Add Cellular Plan.” Thereafter, scan the QR code and you have it. You may be asked for a confirmation code which would be sent to you by your provider to complete the procedure.
Option 2: Use Your Provider’s App to Purchase a Plan
To set up a plan, using your service provider’s app is much easier than contacting them for a full list of their offers
Option 3: Manual Configuration
In events where the above two aren’t available, you can go the manual route. Go to Settings, tap Cellular, then “Add Cellular Plan.” Beneath the Scan QR code screen, click ‘Enter Details Manually.’
You will need the SM-DP+ address from your service provider as well as an activation and confirmation code in order to finish the process.
Step 2: Label Your eSIM Plan
After activation, you have to label the plan so that you can easily recognise the plan you are currently using on your new iPhone. There are default plan labels like Primary, Secondary, Personal, Business, Travel, and Cell Data. You can also create your own custom label.
Thereafter, tap ‘Done’ to finish the setup. You can always alter your label in the ‘Cellular Plan Label’ in the settings.
Step 3: Choose How it Works
After labelling your plans, you can choose how the plan works with your other plans and on your iPhone XS, XS Max, and XR. You can choose any of the three options on the Default Line screen.
Now that you know how to activate eSIM line on iPhone XS, XS Max and XR, you can start using your iPhone with different plans and make it even more relevant as you travel to different countries, meet clients, and in your personal life.


