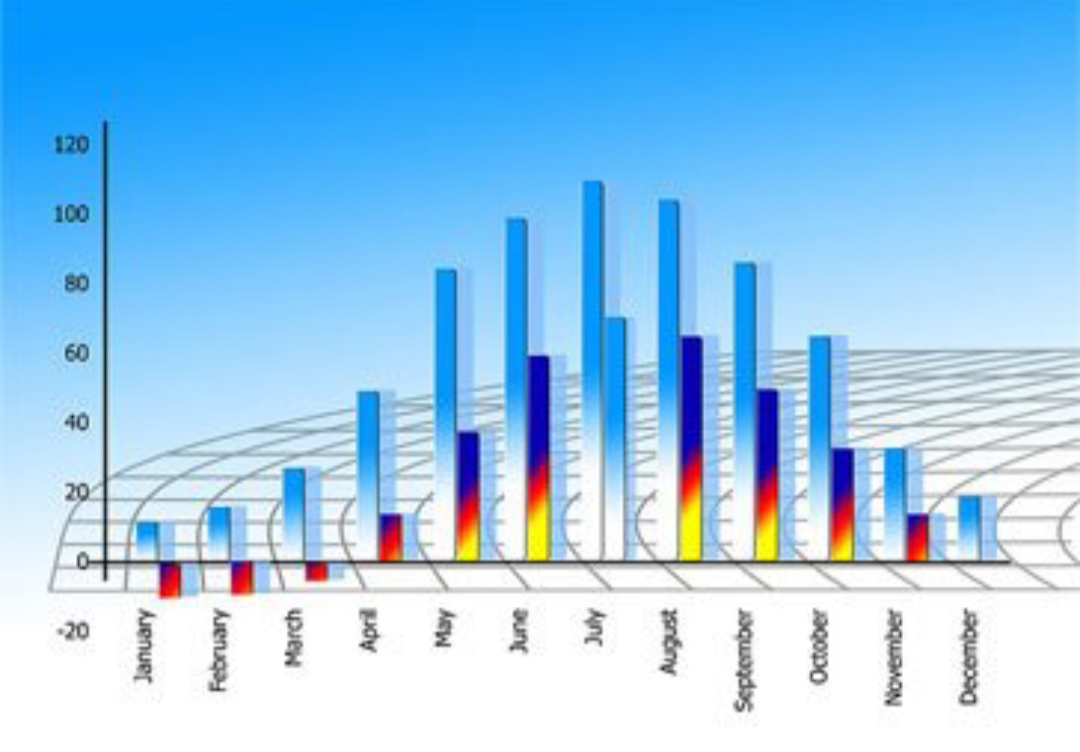
How to Plot Professional Charts and Graphs Graphs on Microsoft Excel

One of the great things Excel can be used to do is plotting graphs, graphs of any kind. When you plot graphs on Microsoft Excel with your data you are able to analyse your solution better, you see things clearly and you get all the statistics you want.
Microsoft Excel is an electronic spreadsheet developed by Microsoft that allows users to organize, format and calculate data. Excel can be used to perform basic and complex calculations, all you have to do is input your data correctly with the right formula. Like other spreadsheets Excel has its cells in rows and columns.
To plot a good graph in Excel you must have input and arranged your data like in the image shown below.
Plotting Graphs on Microsoft Excel
Enter all parameters you want to be shown in the graph.
Highlight the portion of your Worksheet you want the graph to be shown for if you do not want a graph to be plotted for all. To highlight all press Ctrl + A together, or use Shift + the arrow keys to highlight the portion you want.
Navigate to the Insert menu and you will see the charts option, click and choose any chart you want and it will be displayed on your worksheet.
To beautify your graph you will have to format it. To format right-click or double-click on any part of the graph, edit and switch to any part of the graph you want to edit, just play around with the options and you will make a beautiful graph. You can change the chat title, fonts, colours, chat background, wall and so many other things.
Got any questions? Make sure you drop a comment.


