As a computer owner, majority use a Mac or a Windows PC. While some are comfortable with Windows, others are buried deep in the Apple ecosystem and wouldn’t change for anything. So, how do you Print screen on a Mac?


On a Mac, there are many ways to take screenshots or capture what’s on the screen. Unlike the Windows where there is a dedicated keyboard for taking screenshots, this is different on a Mac. With a Mac, you have to combine different keys for screenshot options.
There are many ways to Print screen on a Mac, in this article, we will be outlining the four known ways for you.
How to Print Screen on a Mac
Whether you decide to capture the entire screen, a window or a particular space, there are ways to do this with the Mac keyboard.
Capturing the Entire Screen
There are instances where you would want to capture your entire screen, this can be taken with a combination of three keys on your Mac keyboard. When you are on the screen you want to capture, combine the keys below:
Combine Command + Shift + Number 3 keys. See the image below.
The captured screen will be saved on your desktop in PNG format as Screenshot(at)date and time it was taken. For example, Screenshot 2019-12-17 at 11.44.55.
Capturing a Particular Portion of the Screen
The three-key method is still the way to go if you wish to Print screen on a Mac of a part of the screen. To do this, combine the keys below:
Press Command + Shift + Number 4 keys together, the cursor changes to an icon that allows you drag to capture the part of the screen you want.
You can also replace the Number 4 with Number 5 key. You will be able to capture a particular portion of the screen in two different ways. See the image below:
The Number 5 option key works with macOS Mojave and later. It even gives you different screenshot and Record screen options as shown below.
The image will be saved on your desktop.
Capturing the Screenshot of a Menu on a Mac
In case you want to take the screenshot of a particular menu as shown in the image below, make sure the menu is opened or available on the screen.
• Combine the keys Command + Shift + 4. Your mouse cursor changes to the circled cross icon, same one you get in the second method above.
• Press the Spacebar key, the circled cross icon now changes to a camera icon.
• Move the camera icon to the menu you wish to capture until it is highlighted and make a click.
• The menu will be captured and saved on your desktop.
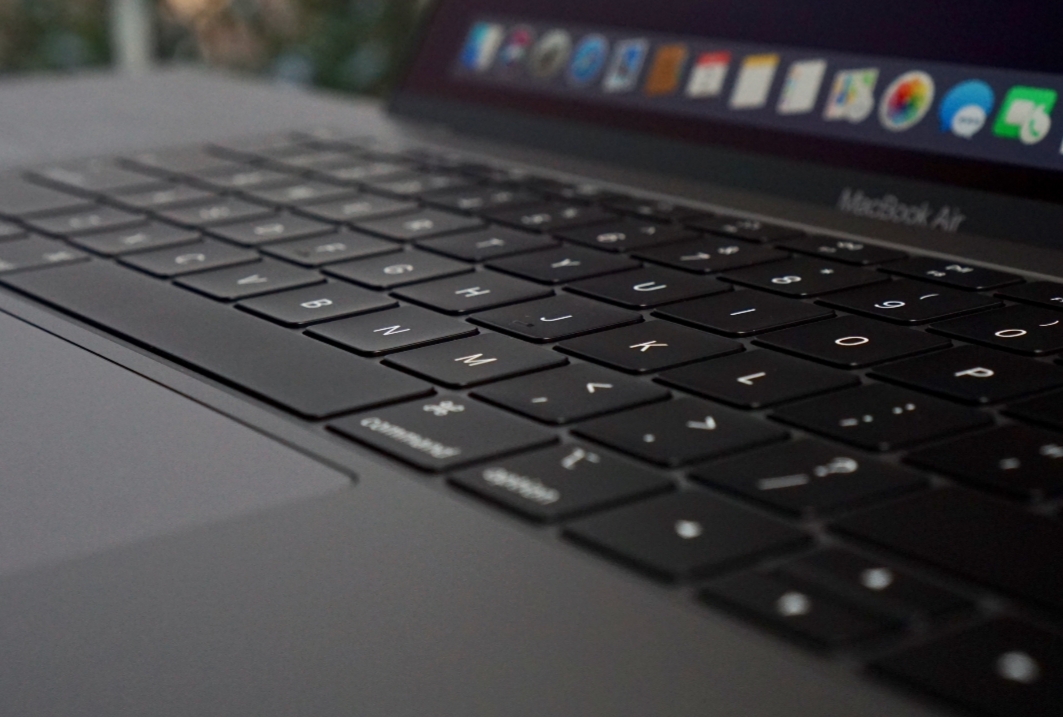
Capturing the Touch Bar on a MacBook Pro
It goes without saying you need to have a MacBook Pro to do this, it also has to be running macOS Sierra 10.12.2 or later to be able to perform this function.
This method is very straightforward, combine Command + Shift + Number 6 keys to take a screenshot of the touch bar.
Conclusion
These are the numerous ways to Print screen on a Mac. We hope you found every one of these useful, you can always use the comments section to share anything with us.


