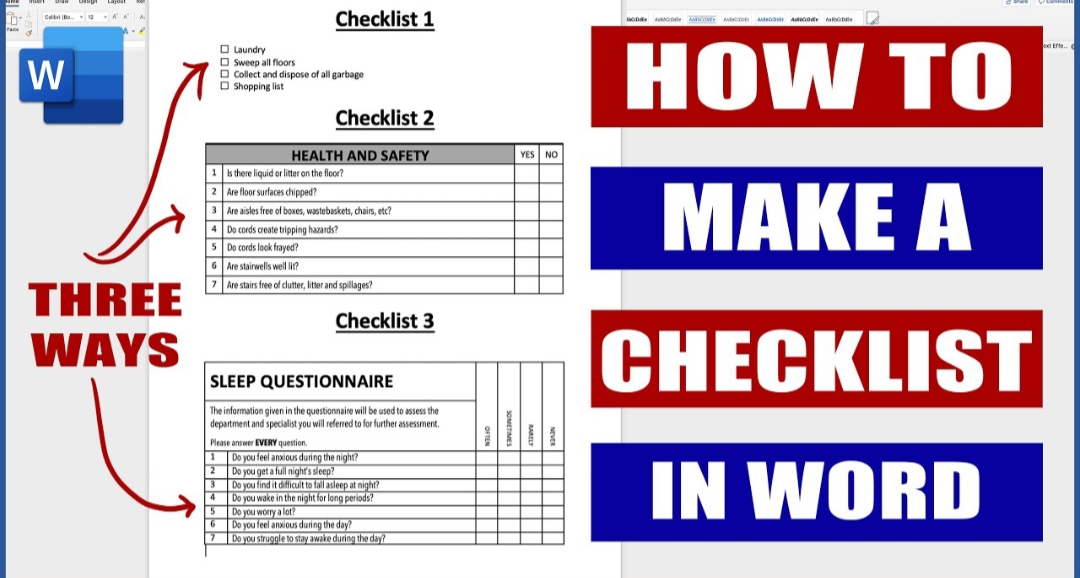
How to Make a Checklist in Word

Do you want to know how to make a checklist in Word? In this post, we will show you how to take your Microsoft Word skills to the next level by creating one. One of the ways to stay productive is by having a checklist which keeps you on track to achieve your set goals.
If you want to be productive, you have to be proactive. Successful people have a to-do list for whatever daily or monthly goals they want to achieve. Whenever these set goals have been achieved, they tick them off the list.
Today, there are note-taking apps you can use to create a checklist, but if you love the traditional way and you would rather use Microsoft Word, we will show you. With Microsoft Word, you can check & uncheck your checklist and also print them if you want a hard copy.
How to Make a Checklist in Word
Open a blank Word document.
Se your desired font, font size and line spacing.
Type the list of items you want to achieve in your new Word page.
Highlight your entire list and create a bullet. To do this, go to the “Home” tab and click on the small arrow facing down in front of the “Bullet list” icon.
Front the dropdown menu, click on “Define New Bulletpoint”. In the opened window, click on “Bulletpoint”.
In the “Font” window, select “Wingdings 2”.
After this, locate and select the box icon that resembles a checkbox. This will be applied to your Word document.
If you want to use this checkbox again whenever you open a new Word document, you just need to click that small arrow facing down in front of the “Bullet list” menu and it will appear under the “Recently Used Bullets” list.
This is how to make a checklist in Word.
How to Create A Checklist You Can Tick Off in Microsoft Word
After completing a task, how do you tick off the checklist? You have to use another checklist option which is more dynamic. To do this you need to add a “Developer” tab to your Word ribbon.
Click on “Word” at the top left corner of your screen. Select “Preferences”.
Click on Ribbon & Toolbar, go to “Main Tabs” and tick “Developer” in the dropdown menu. Click on “Save”.
If you check very well, you will see that a “Developer” tab has been added to your Ribbon. Click on it to use it.
Position your cursor behind the item list you have typed and click on the “Checkbox” icon in the home menu. This will add a checkbox to your Word document.
To tick the box, double-click inside it and select “Ticked” under default value. Click “OK” to complete the task.
Your checklist is now ticked.
You have successfully learnt how to make a checklist in Word.


